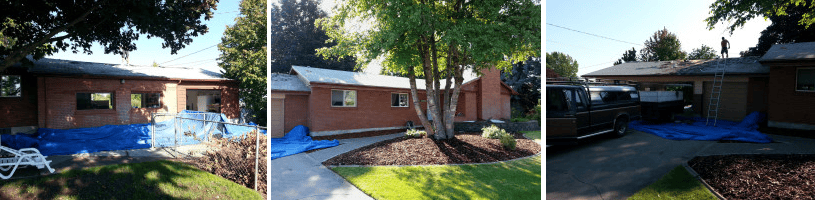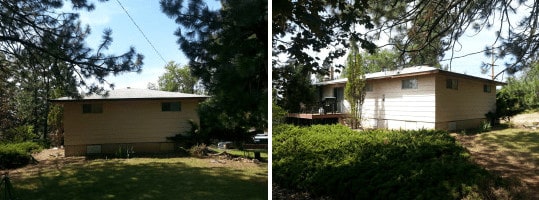
This project was supposed to be a simple 1-layer tear off and re-roof in the Spokane area.
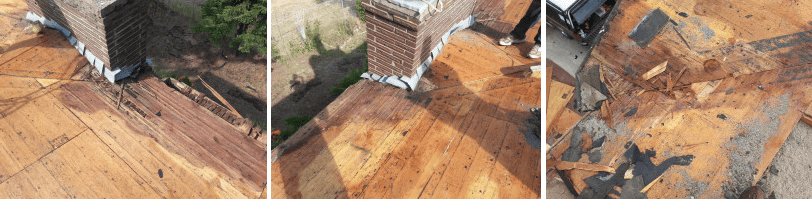
After tearing off some of the first layer, we could tell it was going to be a bigger project. There was extensive water damage in several areas, namely the valleys on the front of the home (where it had leaked into the kitchen) and around the chimney.
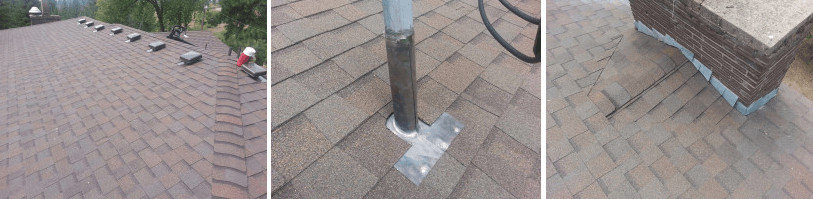
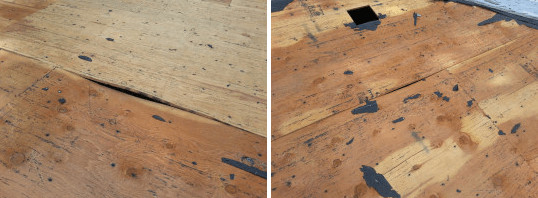
Valleys are one of the most vulnerable spots since all the water channels there. One mistake happens in the valley and a lot of water could be pouring into your home. Another very common place to have leaks is around flashings, in this case, the chimney. Below are some visual examples of what can happen if a roof is installed wrong and isn’t corrected for a long period of time. As you can see the plywood is completely destroyed.
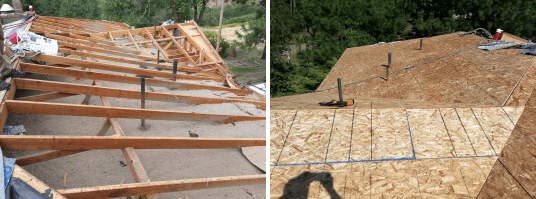
Another big problem we had was the plywood. There were many areas at the seams where the plywood was warped, making it impossible to roof over without problems. This can happen from a lack of ventilation or using “seconds” which is plywood that they sell cheap because it doesn’t meet certain quality standards. Below are a couple of examples.
Because of the water damage and warped plywood we had to replace a lot of sheathing on the roof and even had to replace the whole front side.
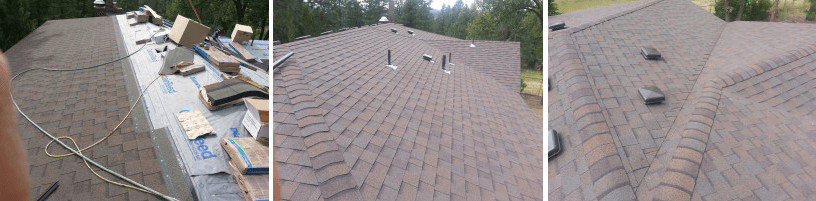
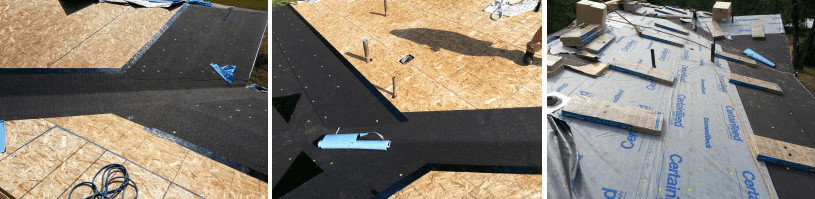
With a solid surface to attach our materials too we could start with the underlayments. As always, the first thing we put on is the ice shield on the eaves and in the valleys. In this case we used the high quality CertainTeed WinterGuard to ensure these problems don’t happen again. Next we put on CertainTeed DiamondDeck, a high quality synthetic felt paper.
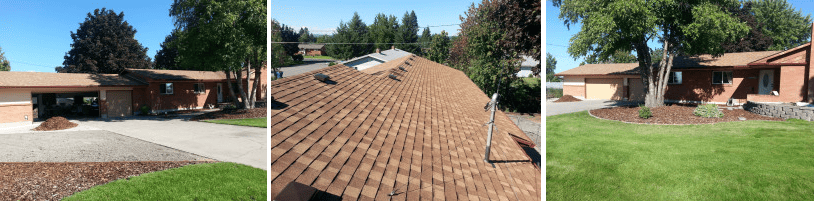
After all the underlayments were installed we started applying the shingles, which were Landmark Heather Blend. We used traditional pipe flashings with the rubber boots and metal roof vents to meet code requirements for ventilation. The chimney was flashed properly this time, with our 2 layer system (1 layer WinterGuard, 1 layer step flashing) and all seams were sealed with a tough silicone. A lead wrap-around pipe flashing was used around the weatherhead. After a considerable amount more work than was expected, this roof turned out looking great and is stronger than ever!